Configure in Stash Studio
Step-by-step walkthrough for configuring a loyalty program in Stash Studio: reward types, program settings, tiers, milestones, validation rules, and publishing.
Configuration is self-serve. Open your shop in Stash Studio and go to the Loyalty section, which has two surfaces: Reward Types and Configuration. Use studio-test for test shops.
Follow the order below. Reward types must exist before tiers and milestones can reference them.
Define reward types
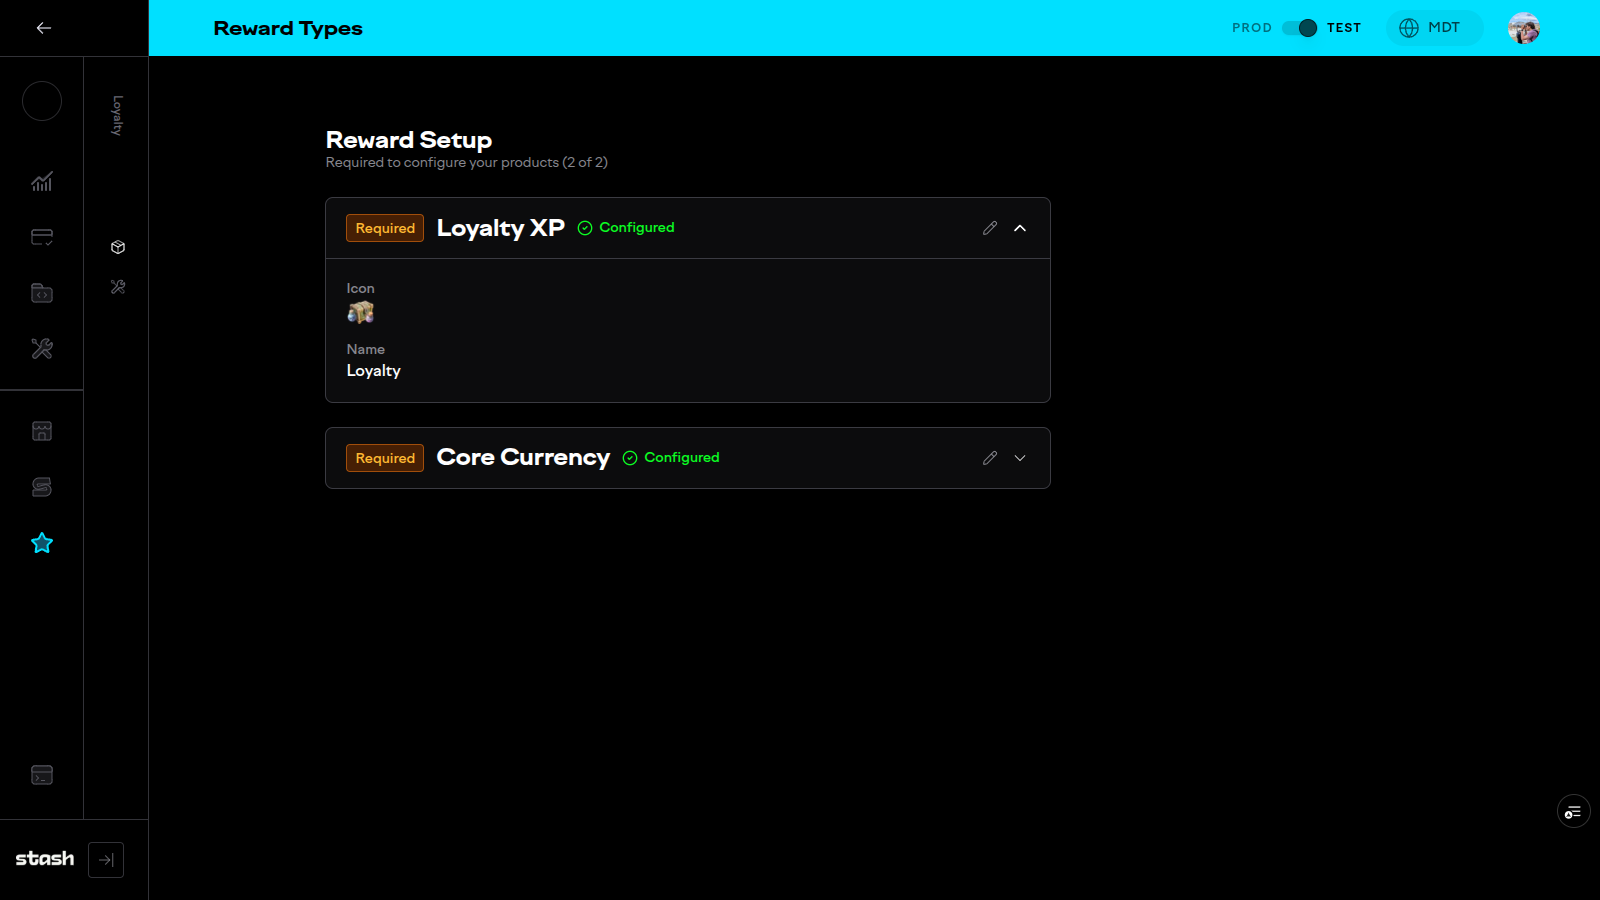
On the Reward Types surface, create each currency or item your program grants: Loyalty XP, your in-game currencies, and any catalog products used as rewards. Give each a name and a 162 x 162 px icon.
Reward types are reused across the whole program, so define them once here. See Reward types for what each type means.
Configure program settings
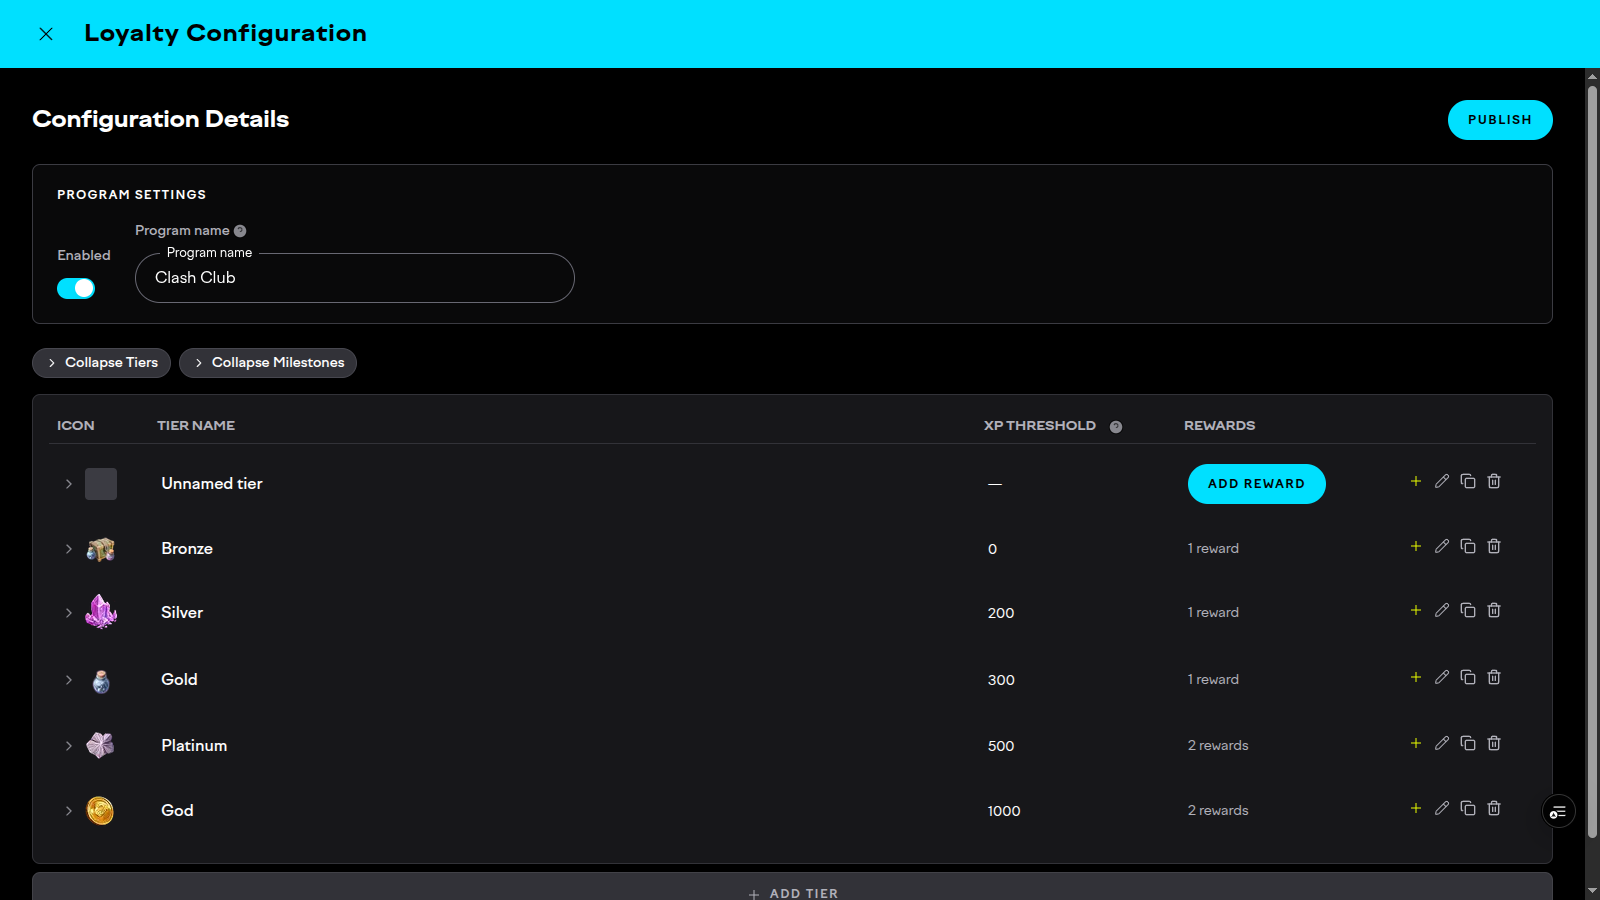
On the Configuration surface, set the program's display name (for example "Pit Pass" or "VIP Club") and turn on the Enabled toggle. The program must be enabled to publish.
Create tiers
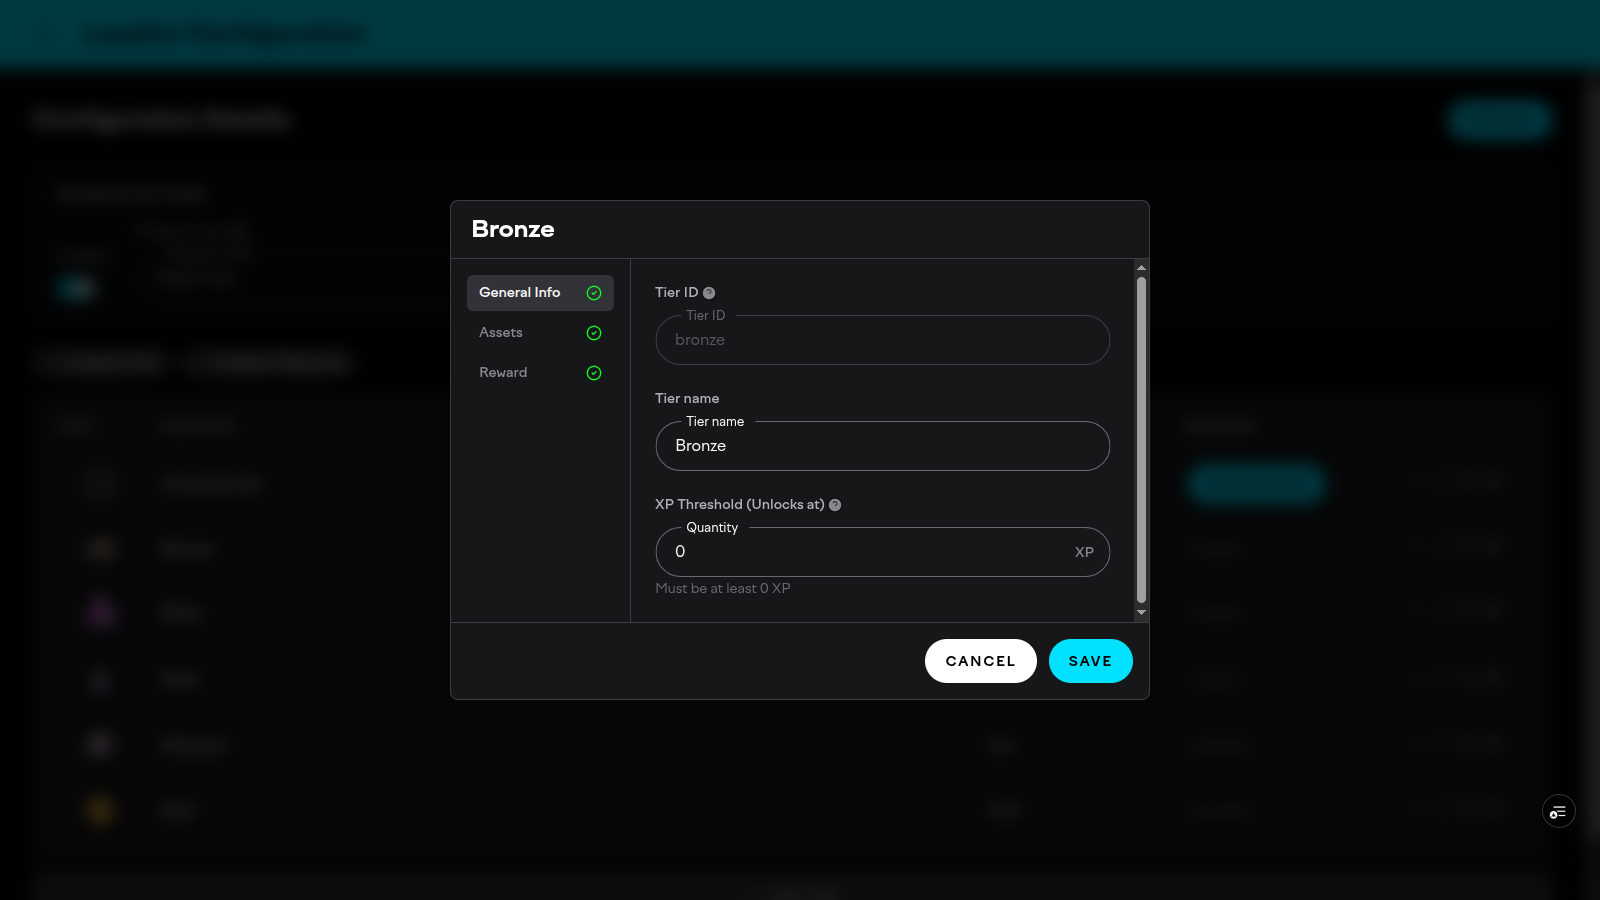
Add tiers in ascending XP order. Each tier is a short modal: general info (name, tier ID, XP threshold), assets (icon, optional background and colour), and earn rates (reward type and amount per USD for each).
The first tier must start at 0 XP. Configure earn rates for every tier; there are no inherited defaults. See Tiers for field details.
Add milestones
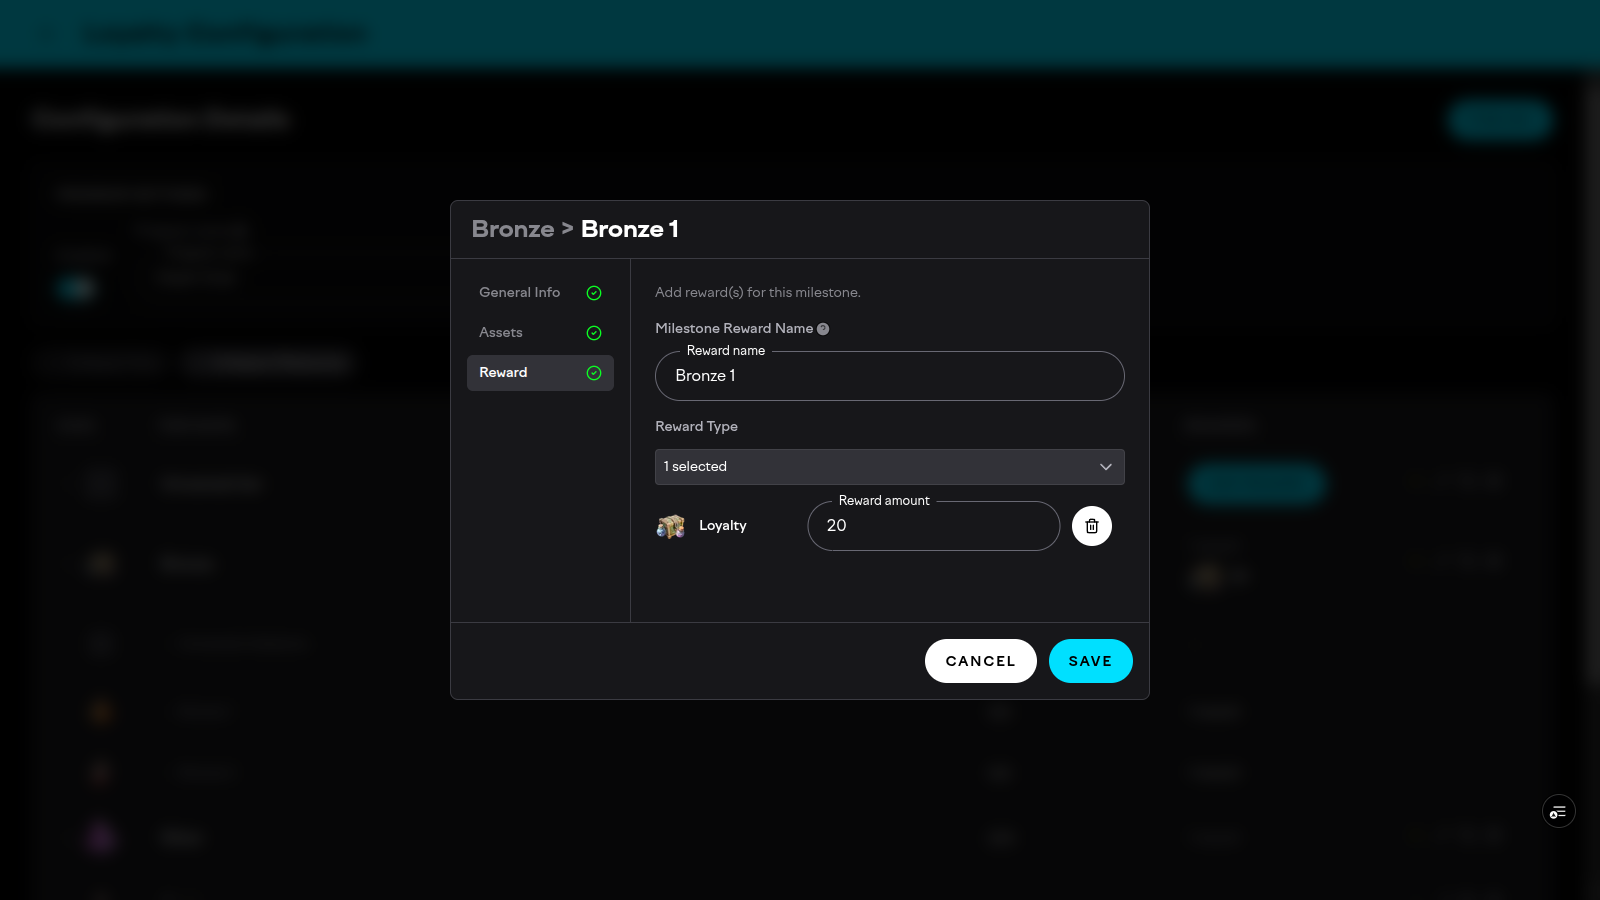
Inside each tier, add one or more milestones: general info (name, XP threshold within the tier's range), assets (icon and background, both required), and rewards (reward name, reward types, and fixed amounts).
Each tier must contain at least one milestone. See Milestones for field details.
Publish the program
The program starts in Draft: no XP is awarded and no milestone is claimable until you publish. Click Publish in the Loyalty overview to validate and take the program live.
Validation rules
All of these must pass before the program can publish:
- The program is enabled and has a display name.
- At least one reward type is configured.
- At least one tier exists, and the first tier starts at 0 XP.
- Tier XP thresholds are unique.
- Every tier has a name, a threshold, and at least one earn rate greater than 0.
- Every tier contains at least one milestone.
- Every milestone has a name, an XP threshold within its tier's range, an icon, a background image, a reward name, and at least one reward amount greater than 0.
Draft and published
A program moves Draft → Published, and back via unpublish.
Once published, the structure locks: XP thresholds, reward assignments, and reward amounts cannot change, and tiers, milestones, and reward types cannot be created or deleted.
Display fields stay editable: names, icons, backgrounds, and colours can be updated live, so creative can be refreshed within a season without touching the economy.
To make structural changes after publishing, unpublish, edit, and re-publish.
How is this guide?
Milestone SKU Rewards
Configure a catalog product (SKU) as a milestone reward in Stash Studio: the tabbed reward picker, adding products and reward types inline, the milestone preview, and how SKU rewards appear on the claim webhook.
Analytics & App Integration
Consume loyalty state two ways: process pushed loyalty events through webhooks for analytics and data pipelines, and pull loyalty on demand with the read-only API to show loyalty in-app and enrich offers.