Introduction
Learn about integrating Stash Web Shop into your Unity project
Integrating Stash Web Shop into your Unity project consists of three main steps:
- Configure your Unity project to accept linking requests from the web shop.
- Set up account linking with your account provider.
- Process web shop events on your game server.
Integration path
The Stash integration consists of two workstreams: account linking and processing events. Account linking is initiated on the game client side, and processing events happens on the game server.
Account linking
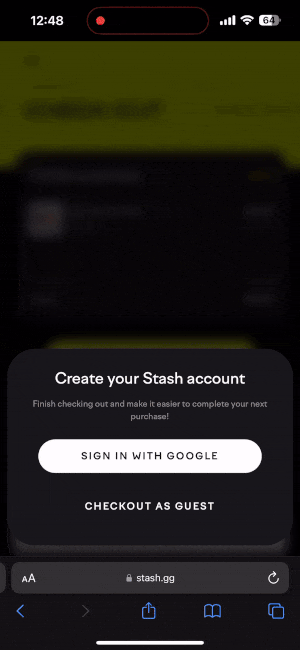
Stash links players’ game accounts to web shops with a one-time deep linking process. Players link their game account by tapping a button or scanning a QR code, which offers a near-native linking experience. The integration path in Unity can vary based on the account provider you use, but Stash supports most providers.
Players tap on an account linking button in the web shop,
the game is launched, and the account is linked.
Processing events
Stash uses webhooks to send notifications about events occurring within the Stash system. For example, events are triggered when players add items to their carts and when they complete purchases. You need to listen for these events so you can manage player inventory and implement any custom logic.
When events occur, Stash sends an HTTP request with event data to your application. Requests are generally POST requests in JSON format. To receive webhook notifications, you configure an endpoint on your server and set the URL in Stash Studio.
Example repository
The playground repo has a collection of Unity examples. The playground is still in active development.
Updated 6 months ago